Scanner Project Update and Technical Details
(work in progress)
Recently, I’ve made the design and functionality more useable, automatic scans are working as expected and its neater.
A youtube short of it scanning
https://www.youtube.com/shorts/pULRlDODE48
OpenSeaDragon example scan PCB Test.
Script Repository
Access the scripts used in this project on GitHub.
The scanner’s recent changes include the integration of a controlled XY table with a TinyG board, interfaced with the camera via USB. This setup is based on ideas shared on my GitHub and in a previous blog post.
Image Rotation Correction
Due to alignment challenges, post-process image alignment and rotation correction are essential. Affinity Photo 2 works pretty well though lacks customisation.
FTP Daemon Configuration for Eakins Camera to download files after scan
/etc/inetd.conf

21 stream tcp nowait root ftpd ftpd -w /mnt/sdcard
After configuring, start the inetd service to enable FTP functionalities if you’ve added a USB ethernet.
Most of this is just simple scripts, the main scan script is a busybox sh script. I process the resulting images on windows so my scripts are TCC (Take Command) usually, but most of the apps are available on other OS’s
Scripting and Processing Workflow
The backbone of this project is a series of scripts. The primary scanning script is developed in shell script (sh), optimized for Unix-like operating systems. My data processing is executed on Windows, where I employ TCC (Take Command) scripts, known for their robust command line capabilities and batch file compatibility. The scripts are on GitHub.
Basically they calculate a G0XnYnF100 command and echo it to the /dev/ttyUSB0 device which is a TinyG, that moves the microscope to that location, then it calls a second script which does the Z focus steps with the talk command. The scripts do need some optimisation on time and checking to see if the saved image appeared, it’d be nice if it renamed the file to the Z step on each row_col
Focus Stacking Solutions
For the task of focus stacking, Helicon Focus is a handy tool for combining multiple images at different focus points into a single, detailed composite. As an alternative, I also use a customized open-source tool from PetteriAimonen’s GitHub. My version adds a Visual Studio Solution (SLN) file and integrates vcpkg for seamless dependency management, alongside a feature to batch-process images from a directory, though i think the original already does what i added …. so i might have replicated that one…
Helicon can do the focus stacking but unless your inputs require no rotation its likely going to fail the stitch, so I use Affinity Photo 2 for that it works really well for me (though it failed during the test for the writeup) , it can focus stack too, Photo 2 uses a 3rd party library a few different packages use.
Image Processing with Affinity Photo 2
In scenarios where Helicon Focus might struggle, particularly with images that need rotation adjustments, Affinity Photo 2 works . It is able to do both Focus Stacking while correcting rotational misalignments, internally it utilises a third-party library called AutoStitch that is common across several image processing tools. http://matthewalunbrown.com/autostitch/autostitch.html
Most stitching software is expecting the camera to rotate or a 360/spherical style and not where its just moving in one plane. PTGUI/Hugin should be able to hande these too. These types of stitchers are common in the medical field for processing microscope slides etc.
A tutorial for Hugin.
https://hugin.sourceforge.io/tutorials/scans/en.shtml
For more tailored image rotation needs, I have developed a specific batch rotation tool available at https://github.com/charlie-x/rotImage . This tool is just a simple OpenCV based batch rotation tool there are other much more comprehensive solutions like ImageMagick, which has a broad rage of image manipulation functionalities, including batch rotation.
Step-by-Step Guide to Executing a Focus Stack
To initiate a focus stack, first obtain the tool from GitHub. Build it yourself or download a pre-compiled release. Note that the command syntax differs if you’re using the original version.
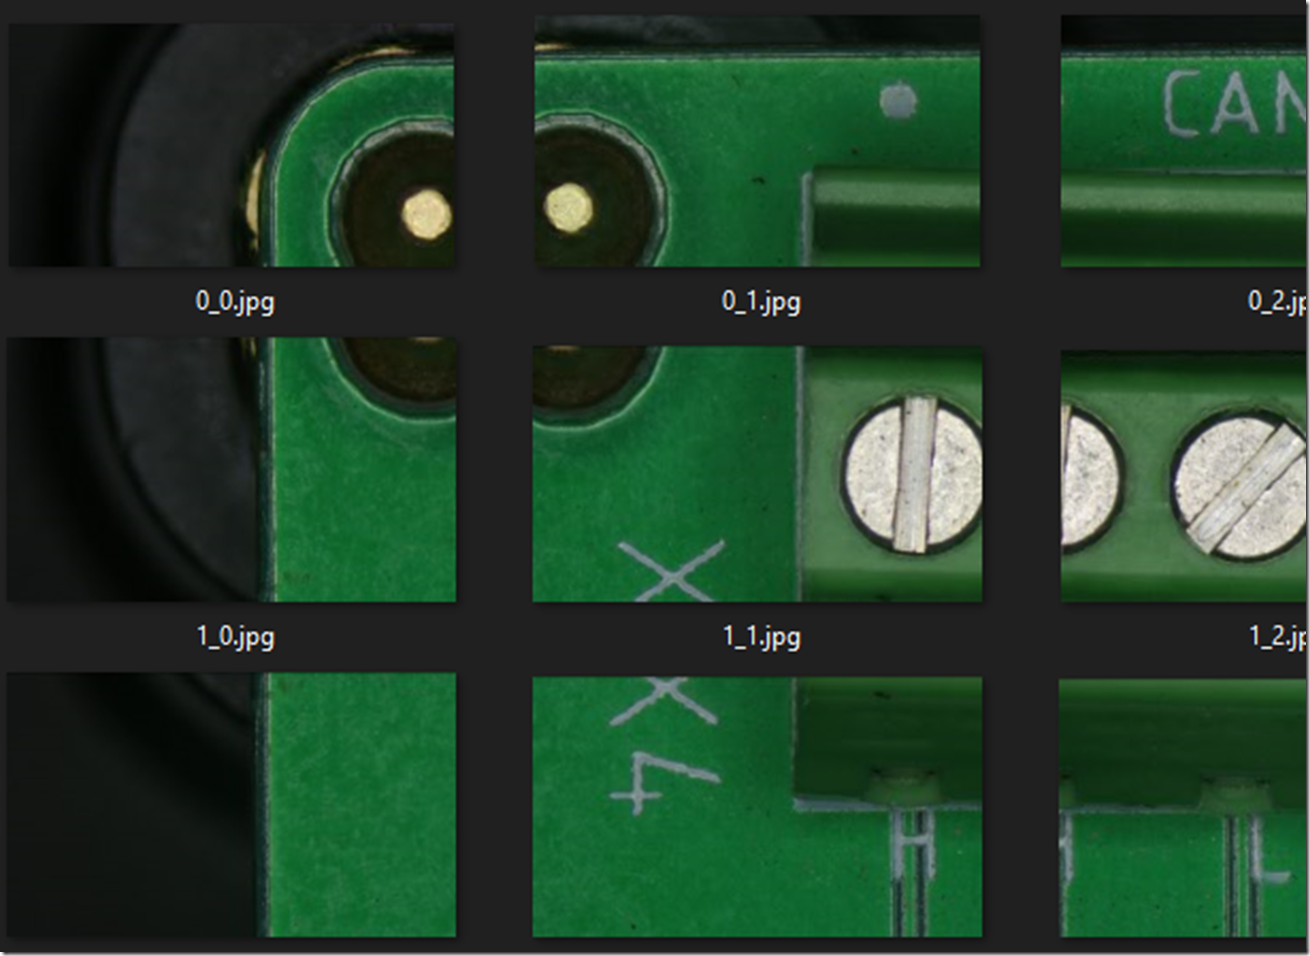
After gathering all images in a local directory (e.g., o:\code\eakins\scan-5), create a designated output folder (e.g., out5\).
go.bat
for /A:D %i in (O:\code\eakins\scan-5\*.*) do call run %i out5\%@name[%i].jpg

run.bat
focus-stack.exe --global-align --output=%2 --input-folder=%1
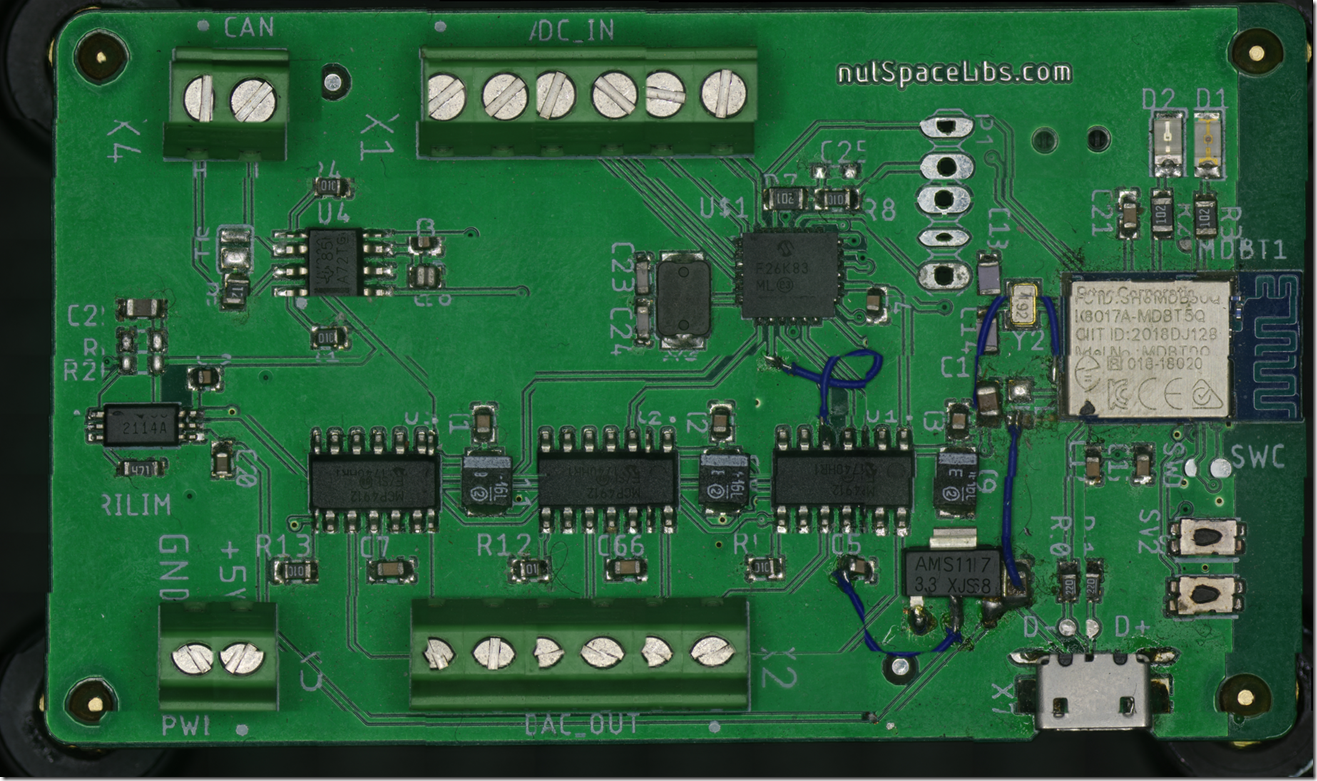
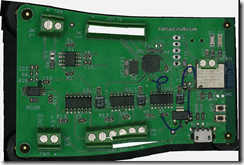
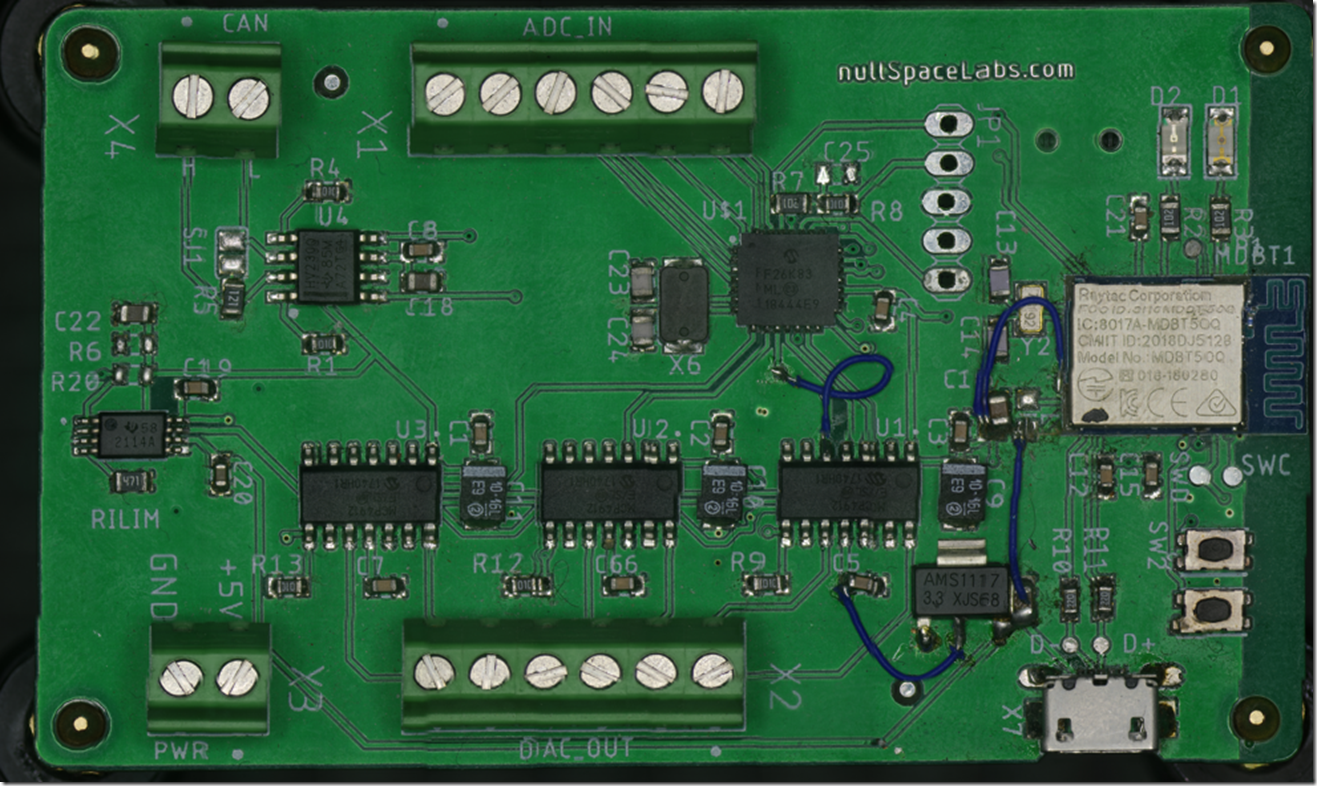
This method will compile the images into a focus-stacked collection in the out5\ directory, achieving a level of detail similarly to the banner image of this post.
If you get something like
[ERROR:15@2.413] global ocl.cpp:3765 cv::ocl::Kernel::set OpenCL: Kernel(decompose_vertical)::set(arg_index=0, flags=258): can’t create cl_mem handle for passed UMat buffer (addr=000000B1986FF140)
just try re-running it , if it fails again check there aren’t images in the folder that can’t be stacked, wrong image location, poor contrast/lighting or try not using opencl
Stitch the Image
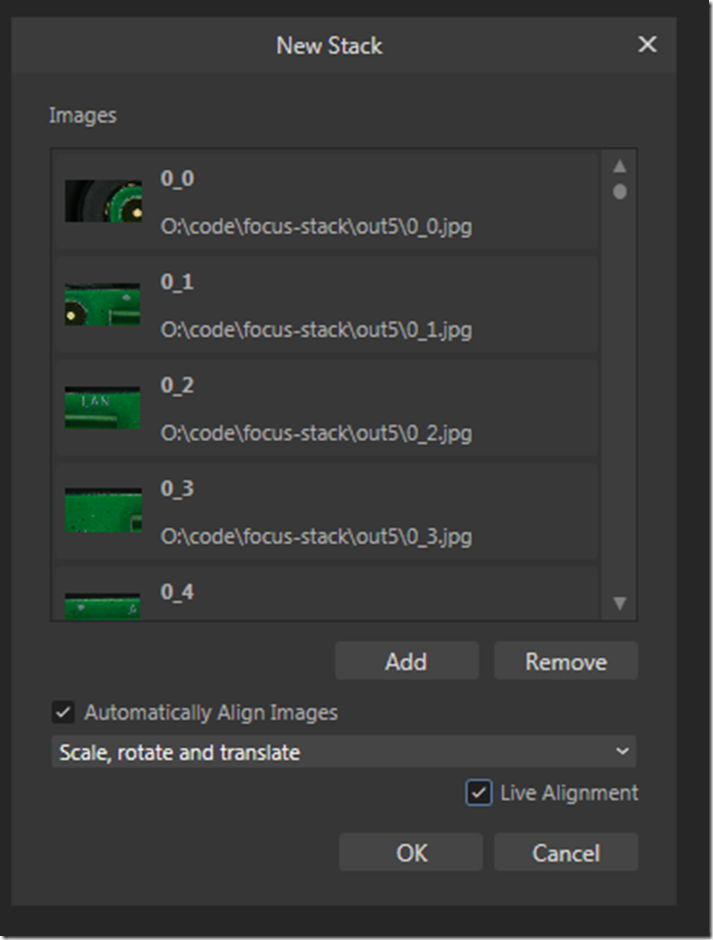
In Affinity Photo2 from File menu “New Stack” and add those files, select “Scale, rotate and translate”
This will take a while
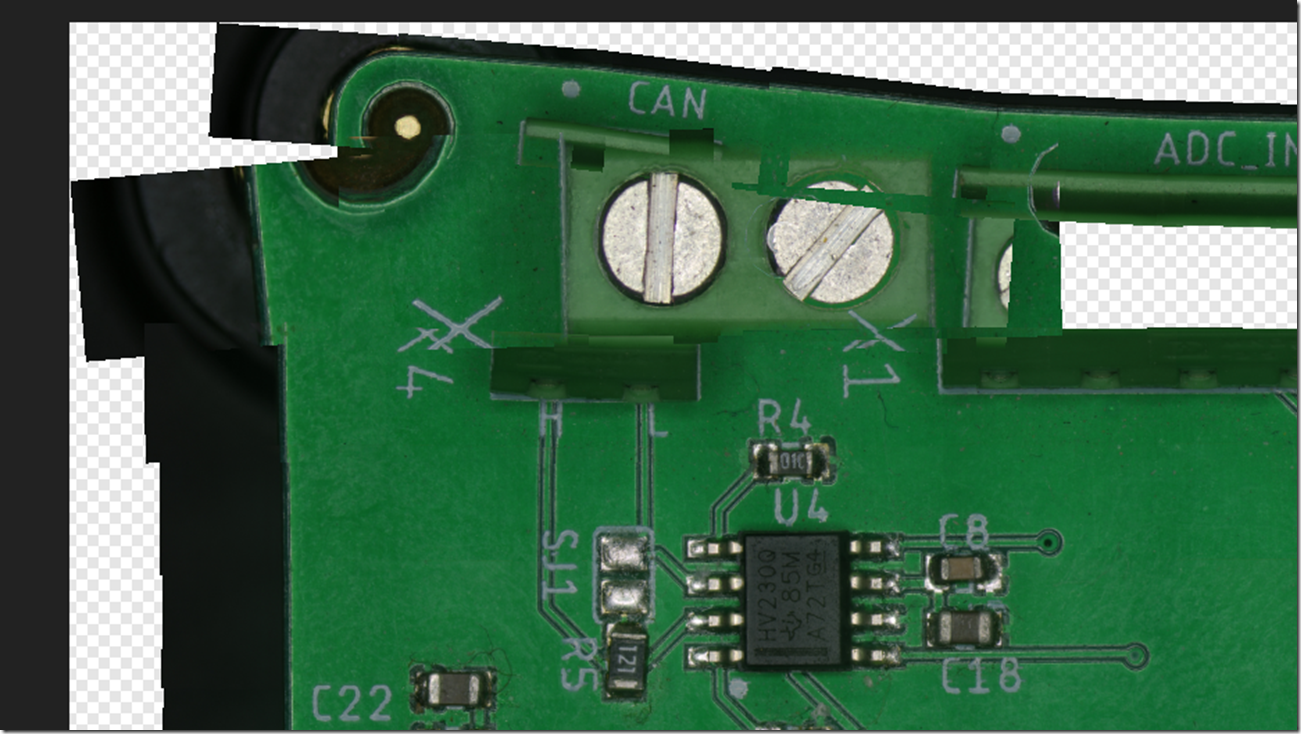
Sometimes it just fails , I think this a lack of overlap and not enough details for the feature match, the golden ratio makes a visit. Make sure the lighting is good and there is enough overlap to properly stitch. correcting rotation can also help, but try it both ways first.
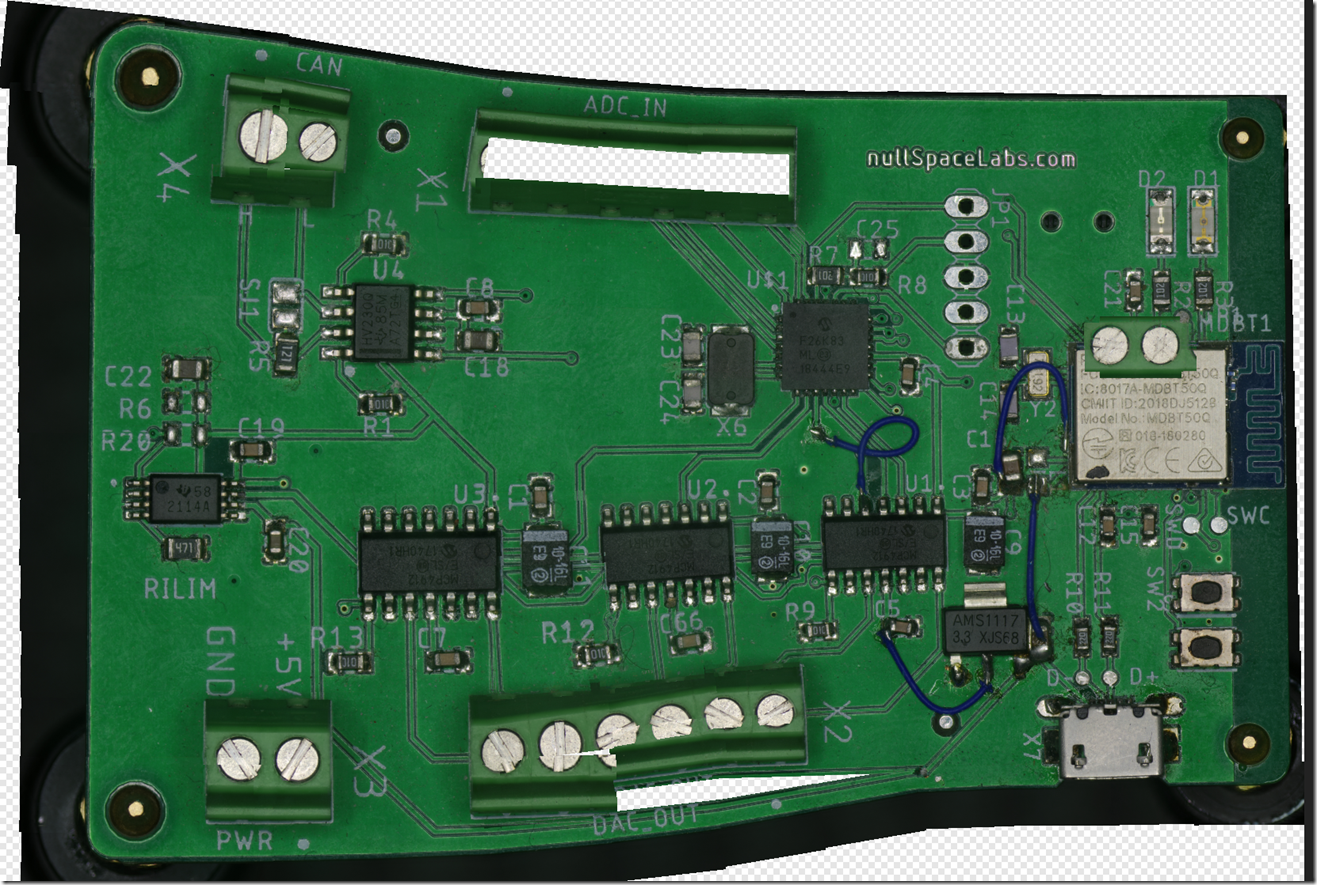
Some fun results.
Helicon Focus with the same data set made this, some issues here too
Hmmm nulspacelibs ?
Some manual tweaking gets it closer, but affinity usually does a better job its just harder to tweak later.
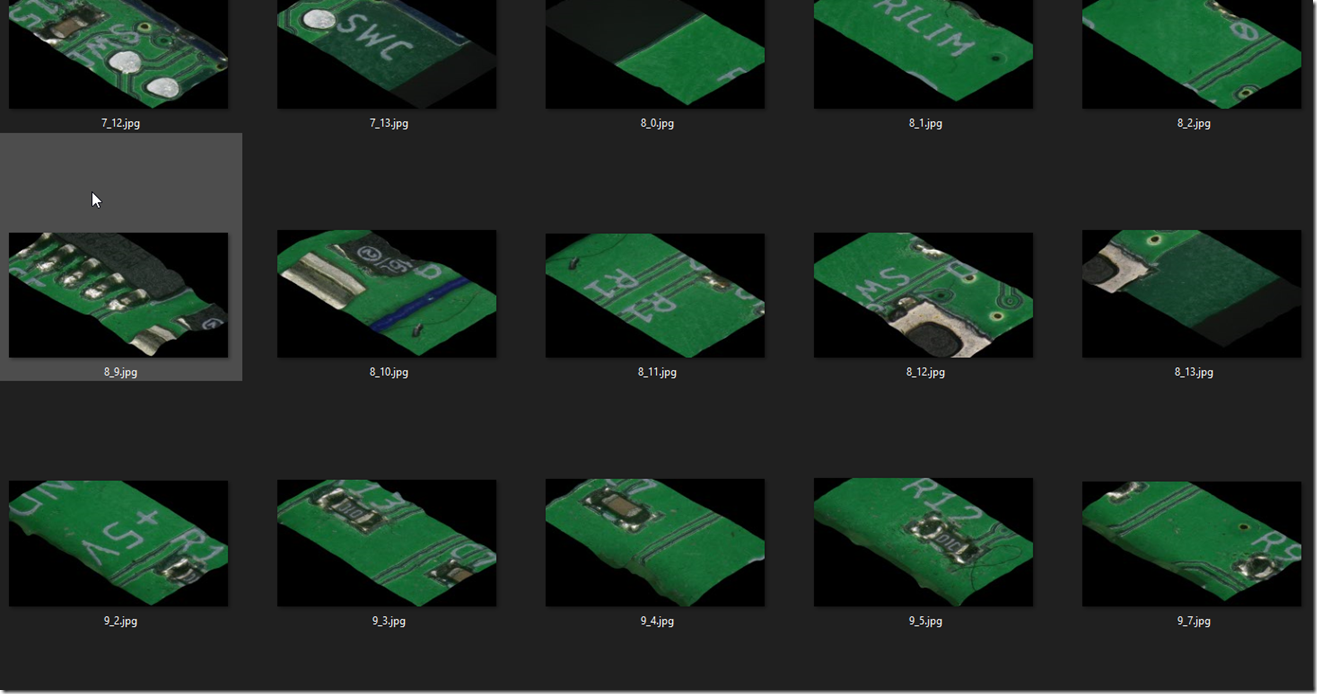
Source Images
OpenSeadragon
If you want to use OpenSeaDragon process the stitched image with vips
vips dzsave pcb-test3.png pcb-test3
this will create a bunch of tiles in the pcb-test3 folder and a .dzi file
<Image xmlns=”http://schemas.microsoft.com/deepzoom/2008″
Format=”jpeg”
Overlap=”1″
TileSize=”254″
>
<Size
Height=”12747″
Width=”20219″
/>
</Image>
Add a script.js , make sure var name and tileSources match, set the Url to the location of the files you created with vips, change the TileSize and width/height to match the .dzi
- var pcbtest3 = {
Image: {
xmlns: “http://schemas.microsoft.com/deepzoom/2008″,
Url: “pcb-test3_files/”,
Format: “jpeg”,
Overlap: “1”,
TileSize: “254”,
Size: {
Width: “20219”,
Height: “12747”
}
}
}; - var viewer = OpenSeadragon({
id: “seadragon-viewer”,
prefixUrl: “//openseadragon.github.io/openseadragon/images/”,
tileSources: pcbtest3
});
Add a simple HTML file, include the scripts for OpenSeaDragon and the above script.js
- <html>
<head>
<style>
#seadragon-viewer {
width: 100vw; /* 100% of the viewport width */
height: 100vh; /* 100% of the viewport height */
}
</style>
</head>
<body style=”background-color: black;”>
<div id=”seadragon-viewer”></div>
//openseadragon.github.io/openseadragon/openseadragon.min.js
http://script.js - </body>
</html>
3D Depth
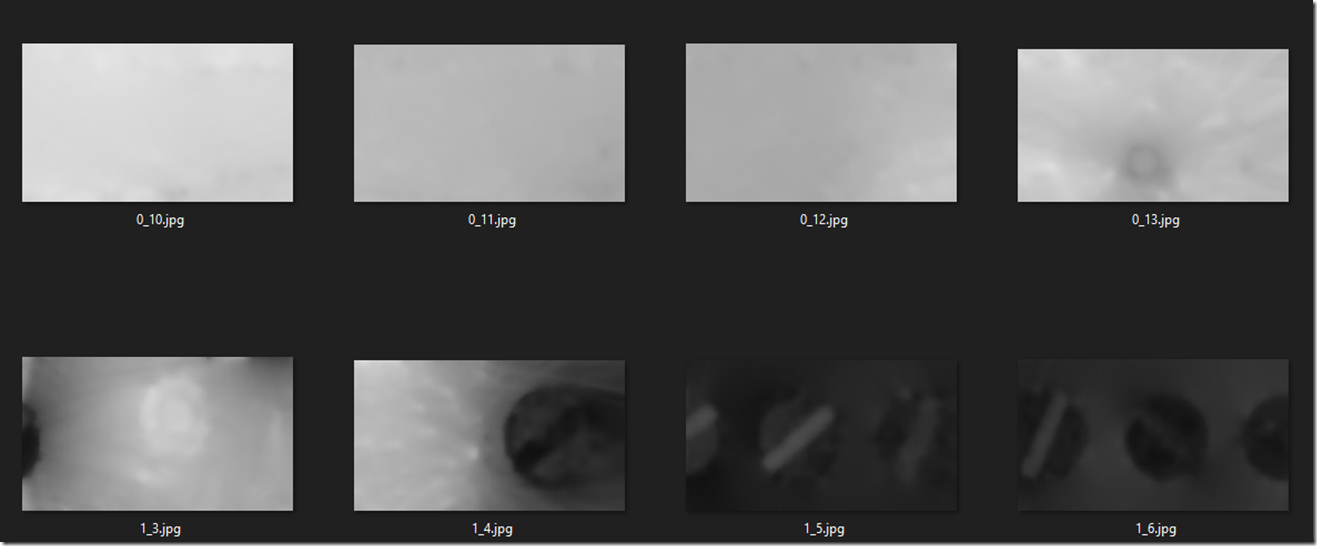
focus-stack can also generate depth maps and a simulated 3d output , not sure how much good it is is here. I have yet to try stitching the non focus stacked images, then stacking them, since that will make a depth map and 3d of the whole image, if we could output the translation matrix the stitcher used and then use these images over it, that might work instead. a photogrammetry tool like Reality Capture with images captured at different angles would do a better job here.

