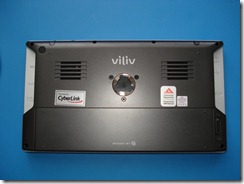
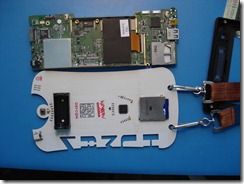
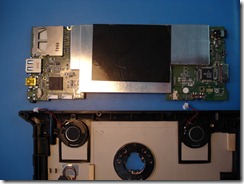
Back of case
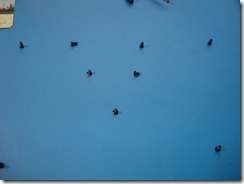
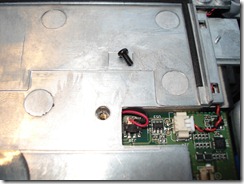
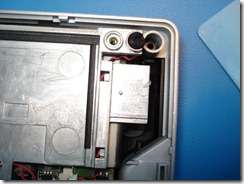
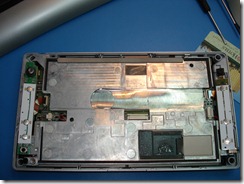
Back case screw arrangement (the three in the middle do not need to be removed, they just hold on the metal mounting plate)
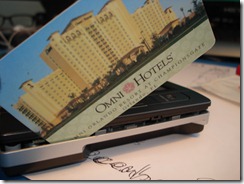
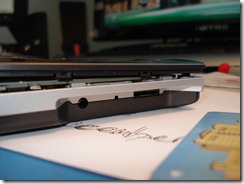
Splanger/splunger tool or an old hotel key, gently Bentley bear, around the edges
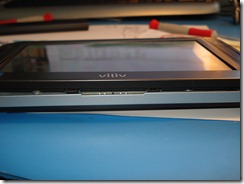
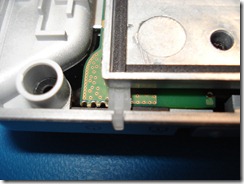
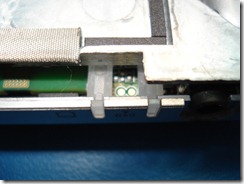
All around, tabs on each side
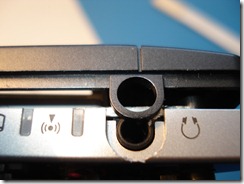
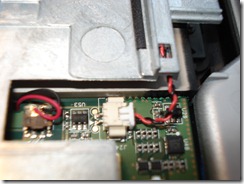
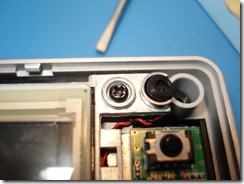
Close up
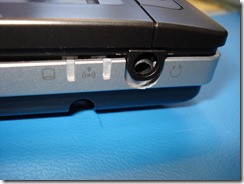
Gently pry the plastic loop from the headphone connector and it’ll free the case, take your time.
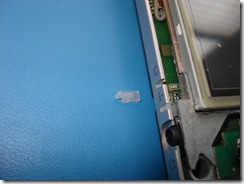
First bit off
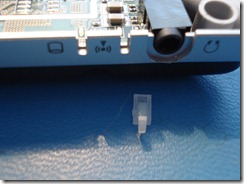
There are three of these, one falls out, so watch out
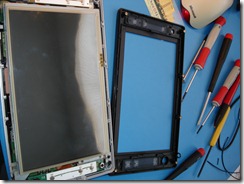
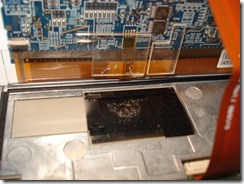
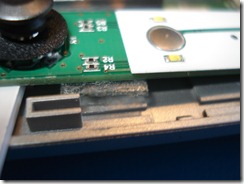
Hotel key under the screen, slice it back and forth under the two bits of clear plastic and the black plastic. the glue separates, careful not to bend the display
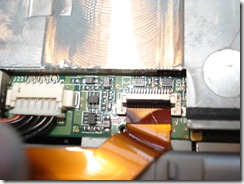
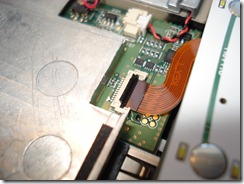
Lift up the lock and remove
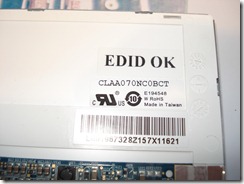
part number
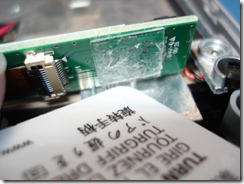
same as before, thin plastic underneath and remove glue
both sides
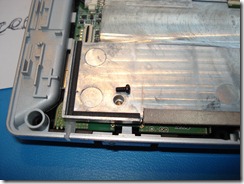
remove screw
remove screw
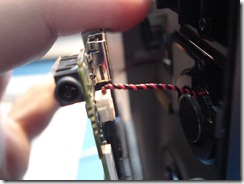
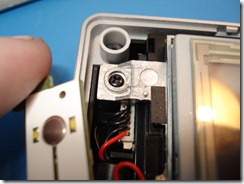
these things are annoyingly cheap, remove the mic one first, leave the two speakers for now
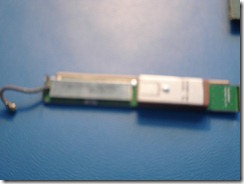
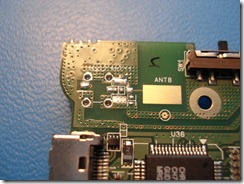
gps / antenna maybe dual?
pita to remove
two more of these ( 3 altogether)
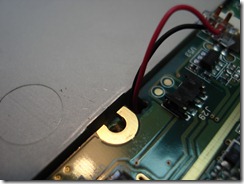
power switch
remove gps/wireless antenna
akward, do the next one first
remove this guy, flip the pcb over and then you can remove the two speakers with a lot less hassle.
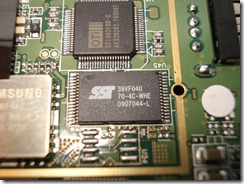
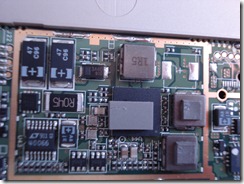
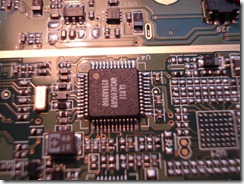
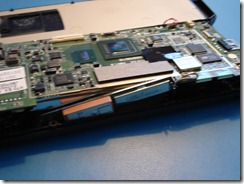
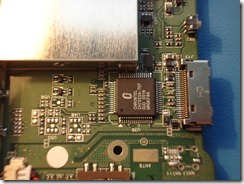
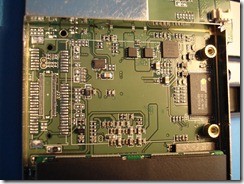
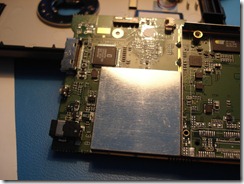
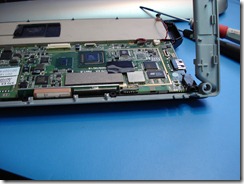
Finally get to see what I’m after, replacing(Adding) wireless with a 4965.
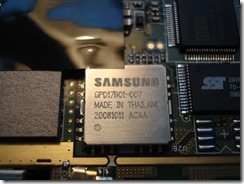
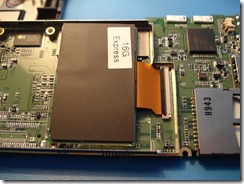
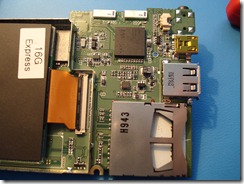
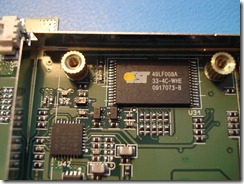
duh ordered the 16G SSD by not paying attention to specs.
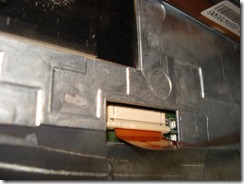
remove cover, uh oh.
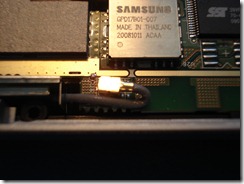
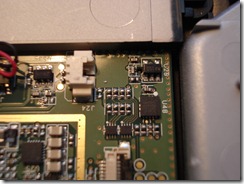
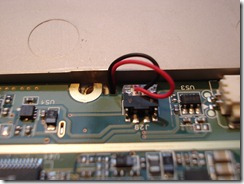
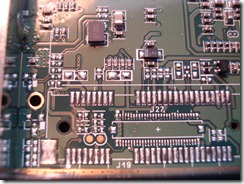
3G wireless antenna,note missing connector.
Rats, as I feared, no connector……… What worries me though is the patch wire I saw on the other teardown with the 3G.. (and its a different rev board ) now, off to order a connector.. hmm girlfriends birthday soon, I wonder if she wants a slightly used MID, she likes those little electronic kits , I’ll just slap all this in a bag with some Chinese instructions for a lawnmower and bonus points all round…
I’ve ordered a couple of connectors, so lets see where that goes.
hmmm
Some tips on putting it back together
Don’t forget
- The GPS module and antenna
- The three LED diffuser, put them on before the metal back plate
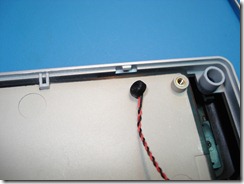
- Microphone goes in the metal frame, faces out towards you, wire routes through the channel in the metal plate
- Power Switch! before the plastic frame/metal plate, make sure it is working correctly.
- Test the buttons when you put the last part on before you press down on all the tabs, they’re tactile so will click.
- Don’t touch the webcam lense, or clean it before reassemble.
Start here
Reconnect speakers
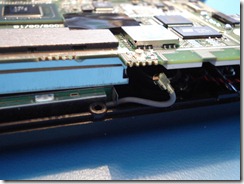
Microphone routes through this notch
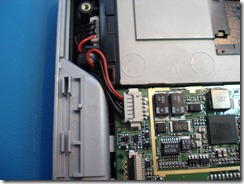
Put the plastic surround on like this, this side in first then level down, don’t forget the power switch first! Check the routing of the battery wires.
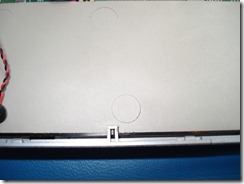
Power Switch
Careful not to lose the little rubber surround on the microphone.
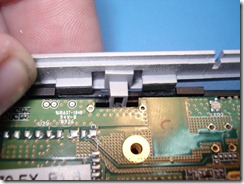
These tabs lock on the front side, two of them.
Microphone routes like this
Plastic LED diffusers, three in total. Add them before you screw on the metal plate. The one that has the most area visible does drop out though, so watch for that.
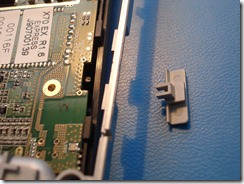
Layout the buttons/webcam, they have small plastic mounting pegs.
Two screws, two corners.
When putting the front bezel on, don’t forget to start at the headphone socket, take your time and it’ll snap into place, watch out for the bottom side not clipping in correctly. you might want to do a power up test before snapping the front bezel into place.
Charge the battery before doing all this, then when you come to switch it on and nothing happens, you won’t be thinking ‘fiddlesticks’.
